If there’s one dish that truly represents the royal essence of Indian cuisine, it’s undoubtedly the Hyderabadi Chicken Biryani. Known for its fragrant long-grain basmati rice, juicy marinated chicken, rich spices, and the slow ‘dum’ cooking method, this iconic biryani is a flavour-packed experience in every bite.
Originating from the kitchens of the Nizams, Hyderabadi Biryani blends Mughlai richness with South Indian spice to create a biryani that’s aromatic, layered, and unforgettable. It’s not just food—it’s a celebration on a plate.
And the best part? You don’t need to visit Hyderabad or a restaurant to enjoy it. With the right ingredients and a bit of patience, you can make authentic Hyderabadi Chicken Biryani at home—perfect for family dinners, special occasions, or festive feasts.
What Is Hyderabadi Chicken Biryani?
Hyderabadi Chicken Biryani is a legendary Indian rice dish made by layering marinated chicken with partially cooked basmati rice, aromatic spices, herbs, and saffron, then cooking it all together using the dum method—a slow steam technique that seals in the flavours.
There are two main styles of Hyderabadi biryani:
- Kacchi Biryani – where raw marinated chicken is layered with semi-cooked rice and cooked together on dum
- Pakki Biryani – where both chicken and rice are cooked separately and then layered
In this recipe, we focus on the kacchi style, which is more traditional and flavourful. The chicken absorbs the richness of the spices and curd, while the rice soaks up all the aroma from the meat and saffron.
Unlike other regional biryanis, the Hyderabadi version is known for:
- Deep, complex flavours
- The use of fried onions, mint, coriander, saffron, and ghee
- A spicier kick, yet still balanced and aromatic
Why You’ll Love This Recipe
If you’re a biryani lover (and who isn’t?), this Hyderabadi Chicken Biryani recipe is going to be your new favourite. Here’s why it’s worth trying:
- Authentic Flavour, Made at Home : Get that restaurant-style Hyderabadi dum biryani taste in your own kitchen—no shortcuts, no compromises.
- Royal & Rich in Every Layer : Every spoonful delivers layers of marinated chicken, fragrant rice, caramelised onions, saffron, and fresh herbs—just like the biryani served at traditional Hyderabadi weddings.
- Perfect for Family Meals & Special Occasions : This recipe is ideal for Eid, Diwali, weddings, or Sunday lunches. It’s a complete meal that needs nothing more than raita or a boiled egg on the side.
- Customisable Spice Level : Make it spicy for grown-ups or tone it down for kids—just adjust the chillies while marinating the chicken.
- Aromas That Fill the Whole House : As it cooks on dum, the aroma of spices, saffron, and ghee will make everyone hungry—even the neighbours!
Ingredients Required
To make this rich and flavourful Hyderabadi Chicken Biryani, you’ll need everyday ingredients commonly found in Indian kitchens. The magic lies in the marination and layering.
For the Chicken Marinade
- 500–700 grams chicken (bone-in preferred)
- ¾ cup thick curd (dahi) or hung curd
- 1 tablespoon ginger-garlic paste
- 2–3 green chillies, slit
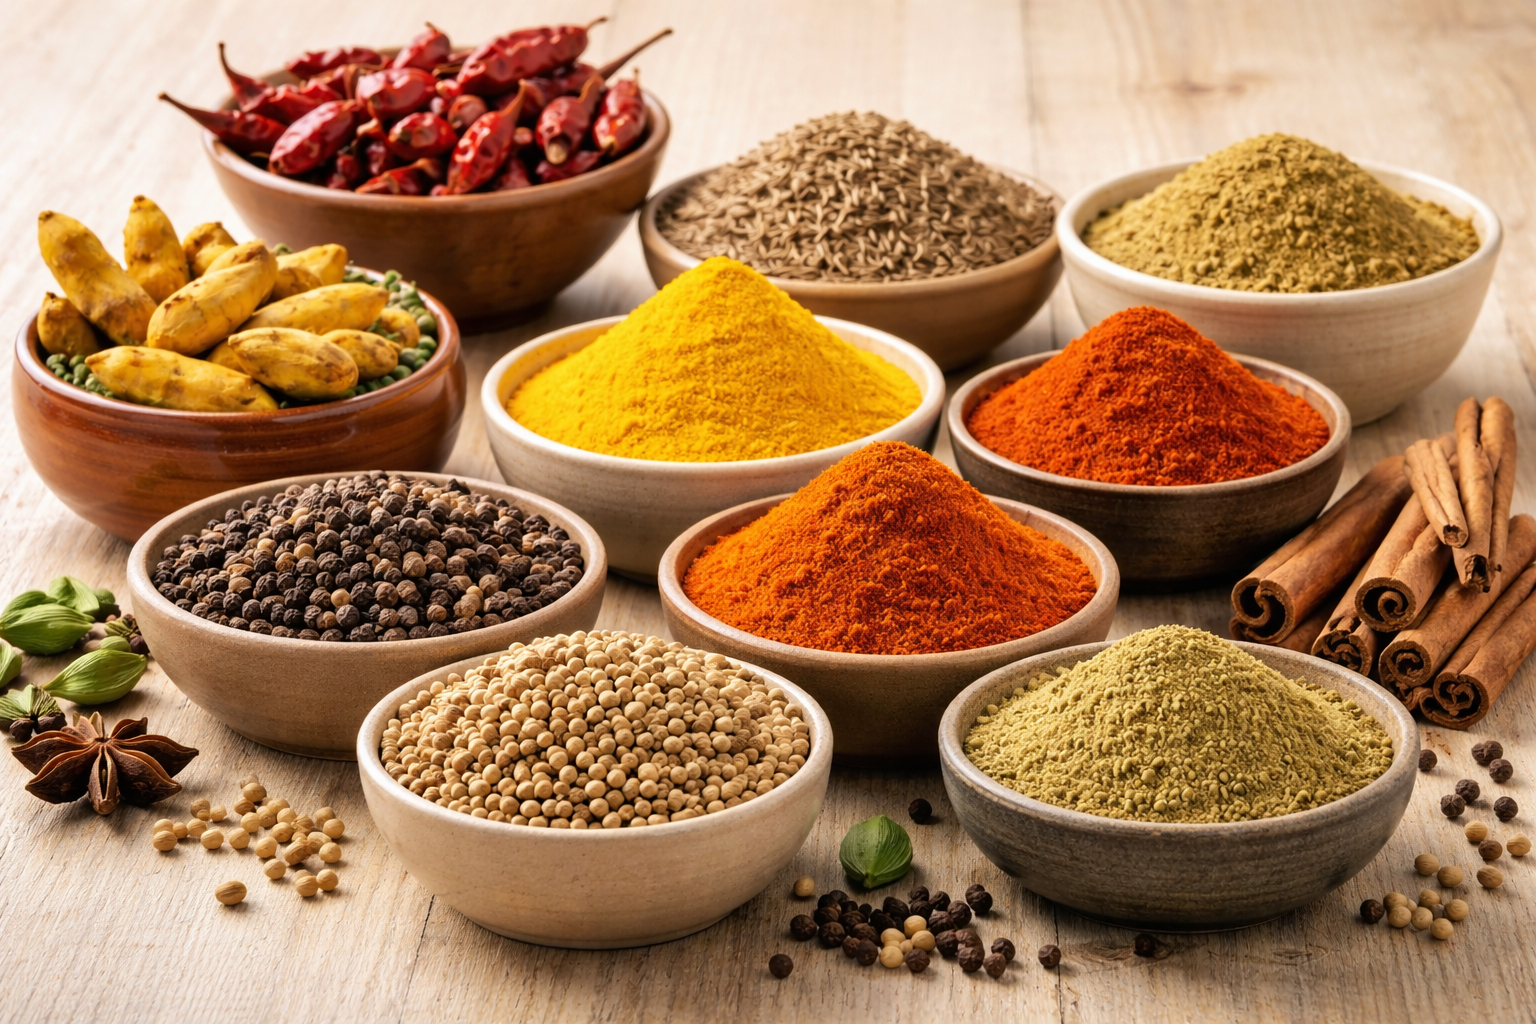
- 1 tablespoon red chilli powder (adjust to taste)
- ½ teaspoon turmeric powder
- 1 teaspoon garam masala
- Salt to taste
- 1 tablespoon lemon juice
- ½ cup fried onions (birista)
- ¼ cup chopped coriander leaves
- ¼ cup chopped mint leaves
- 1 tablespoon oil or ghee
For the Rice
- 1½ cups basmati rice (long grain)
- 4–5 cups water (for boiling)
- 2–3 green cardamoms
- 4–5 cloves
- 1 bay leaf
- 1 small cinnamon stick
- 1 teaspoon salt
For Layering
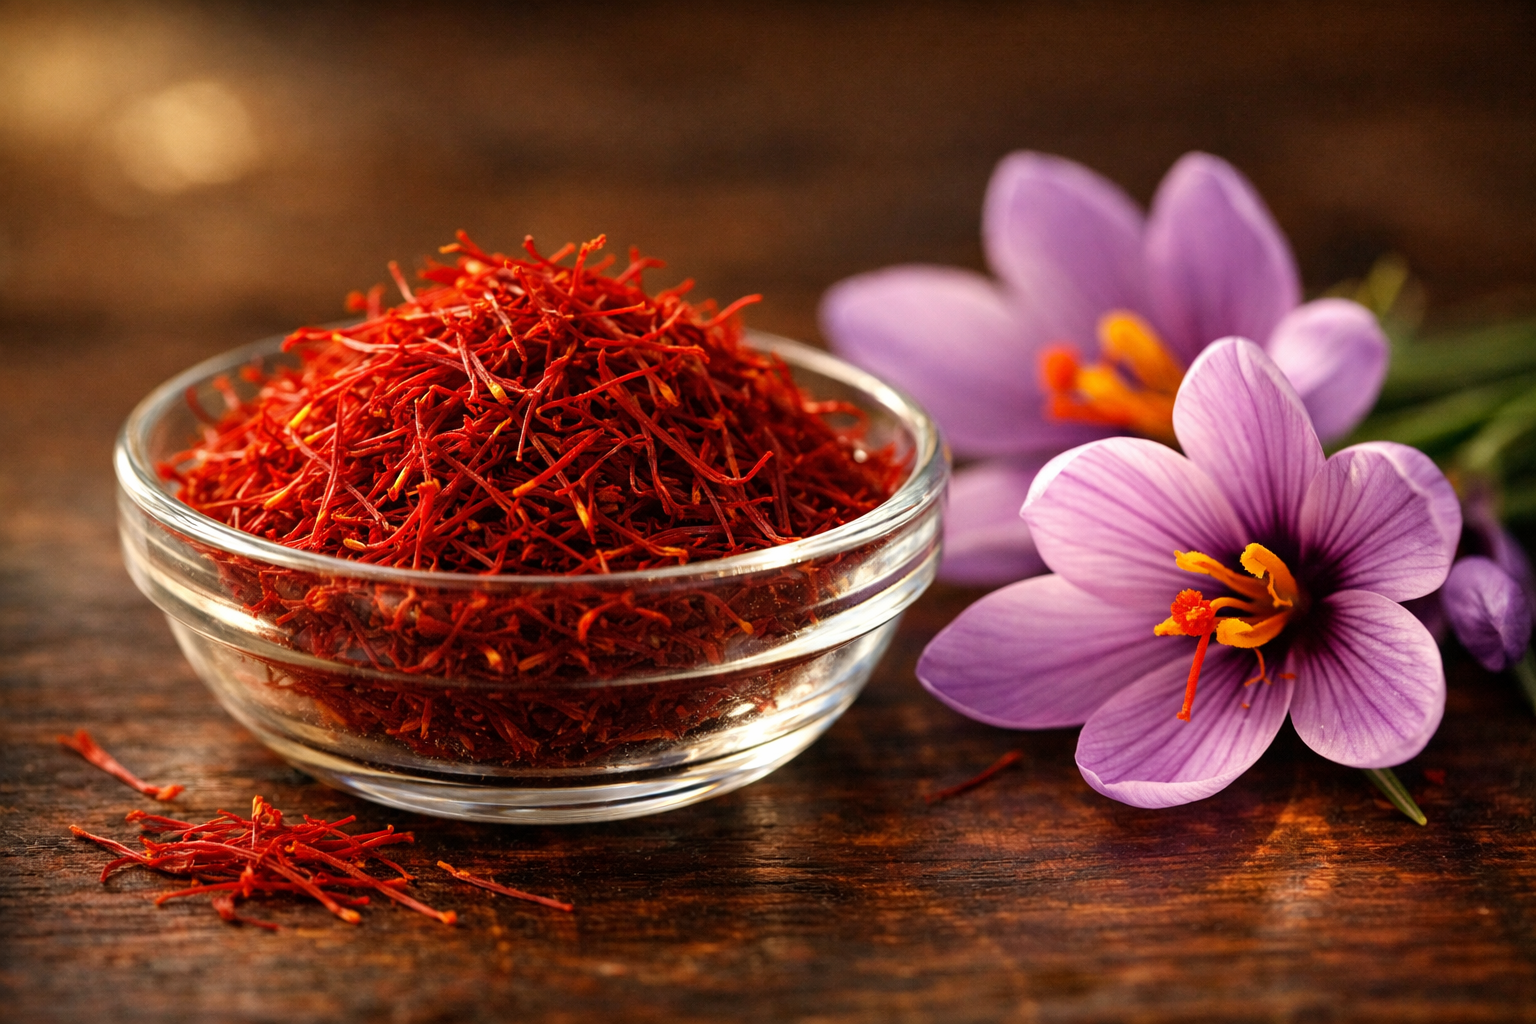
- Few strands of saffron soaked in ¼ cup warm milk
- 2 tablespoons ghee or butter
- ¼ cup fried onions (for topping)
- Additional mint and coriander leaves
- Optional: Few drops of kewra or rose water for added aroma
Step-by-Step Instructions to Make Chicken Hyderabadi Biryani
Follow these simple steps to make authentic, flavour-packed Hyderabadi Dum Biryani at home, just like they do in royal kitchens!
Marinate the Chicken
In a large bowl, combine:
- Chicken pieces
- Curd
- Ginger-garlic paste
- Green chillies
- Red chilli powder, turmeric, garam masala
- Lemon juice
- Fried onions (birista)
- Chopped mint and coriander
- Salt and 1 tbsp oil/ghee
Mix well and marinate for at least 3–4 hours, or preferably overnight in the fridge for deeper flavour.
Soak and Cook the Rice
- Wash basmati rice 2–3 times and soak for 30 minutes.
- Boil water in a deep vessel. Add whole spices (cardamom, bay leaf, cloves, cinnamon) and salt.
- Add soaked rice and cook until it’s 70–80% cooked (firm but not mushy).
- Drain immediately and keep aside.
Prepare for Layering
- In a heavy-bottomed pan or biryani handi, spread the marinated chicken evenly at the base.
- Add a layer of parboiled rice on top of the chicken.
- Drizzle saffron milk, ghee, and sprinkle fried onions, mint, and coriander.
Optional: Add a few drops of kewra or rose water for royal aroma.
Dum Cooking (Sealing & Steaming)
- Cover the lid tightly. You can seal the edges with dough (atta) or place a heavy pan/lid on top.
- First cook on medium flame for 5–7 minutes, then on low flame for 20–25 minutes.
- Turn off the flame and let it rest for 10 minutes before opening.
Fluff and Serve
- Gently mix the biryani with a flat spoon from the sides (don’t break the rice grains).
- Serve hot with raita, boiled egg, or mirchi ka salan.
Pro Cooking Tips for Perfect Hyderabadi Biryani
Want your homemade Chicken Hyderabadi Biryani to taste just like the ones from royal kitchens or top restaurants? These expert tips will help you master every layer of flavour and aroma:
Marinate the Chicken Overnight
For the most juicy and flavourful chicken, marinate it for at least 6–8 hours. Overnight marination lets the curd and spices penetrate deep into the meat.
Don’t Overcook the Rice
Cook rice only till it’s 70–80% done (also called “two kadam kam”). It should still have a bite—this helps it finish cooking perfectly during dum.
Use Fried Onions Generously
Homemade or store-bought birista (fried onions) add sweetness, depth, and that signature Hyderabadi taste. Use some in marination and some for layering.
Layering Is Key
Start with raw marinated chicken at the bottom, then layer with rice. Add saffron milk, ghee, herbs, and onions between layers for full flavour.
Seal Properly for Dum Cooking
Seal the lid tightly with atta dough or foil to trap the steam. Dum is the soul of this recipe—it cooks the chicken gently and infuses every grain with flavour.
Use Kewra or Rose Water (Optional but Aromatic)
A few drops of kewra essence or rose water gives that restaurant-style aroma. Add it only while layering—not in the marinade.
Let It Rest Before Serving
After dum, rest the biryani for 10 minutes before opening the lid. This allows the flavours to settle and makes it easier to mix gently.
Variations You Can Try
Once you master the classic Chicken Hyderabadi Biryani, you can easily tweak it to suit your taste, dietary needs, or the ingredients you have at home. Here are some delicious variations to explore:
- Boneless Chicken Biryani : If you prefer no bones in your biryani, use boneless chicken thighs. They stay juicy and absorb the masalas well—perfect for kids or wraps!
- Mutton Hyderabadi Biryani : Swap chicken with mutton (goat meat) and increase the marination and dum time. Mutton brings an even richer, royal taste and is a festive favourite.
- Egg Hyderabadi Biryani : Boil and marinate eggs in light masala, then layer them with rice for a protein-packed, budget-friendly biryani option.
- Paneer or Vegetable Biryani (Veg Dum Biryani) : For vegetarians, replace chicken with paneer cubes or mixed vegetables like potato, carrots, and beans. Keep the same marinade and dum process for a flavourful veg version.
- Pressure Cooker Biryani : Short on time? Cook chicken and rice separately, then layer and dum cook for just 10 minutes in a pressure cooker (no whistle) for quicker results.
- Low-Carb or Brown Rice Biryani : Want a healthier twist? Use brown basmati rice, cut down on ghee, and use lean chicken cuts for a nutrient-rich biryani that doesn’t compromise on taste.
Serving Suggestions
Chicken Hyderabadi Biryani is a complete meal in itself, but pairing it with the right sides can elevate the experience from great to unforgettable. Here’s how to serve it like a pro:
Raita – The Perfect Cooling Companion
Serve your biryani with any of these classic Indian raitas:
- Boondi raita
- Onion-tomato raita
- Mint-curd raita
- Cucumber raita
The coolness of curd balances the spice beautifully.
Mirchi Ka Salan – A Traditional Hyderabadi Pairing
This tangy, mildly spicy chilli and peanut curry is the official side dish of Hyderabadi biryani. A must-try if you want to go authentic!
Boiled Eggs
Top your biryani plate with halved boiled eggs, sprinkled with a pinch of salt and red chilli powder—this is a popular touch in many Indian households.
Sliced Onions, Lemon Wedges, and Mint Leaves
Add a side of raw onion rings, lemon juice, and fresh mint leaves for an extra layer of freshness and zing.
Drink Pairing Ideas
Pair your biryani with a refreshing chaas (buttermilk), sweet lime soda, or jeera water to aid digestion and complement the richness.
Conclusion
Chicken Hyderabadi Biryani is not just a recipe—it’s a celebration of tradition, flavour, and royal heritage. With layers of marinated chicken, fragrant basmati rice, and the unmistakable aroma of saffron and spices, this biryani is sure to win hearts at every gathering.
By following the dum method and using fresh, quality ingredients, you can recreate the authentic magic of Hyderabad right in your own kitchen. Whether you’re preparing it for a special occasion, a family get-together, or just treating yourself, this biryani never fails to impress.
So go ahead—try this step-by-step recipe, pair it with cooling raita or mirchi ka salan, and enjoy a plate full of flavour, warmth, and Hyderabadi love.